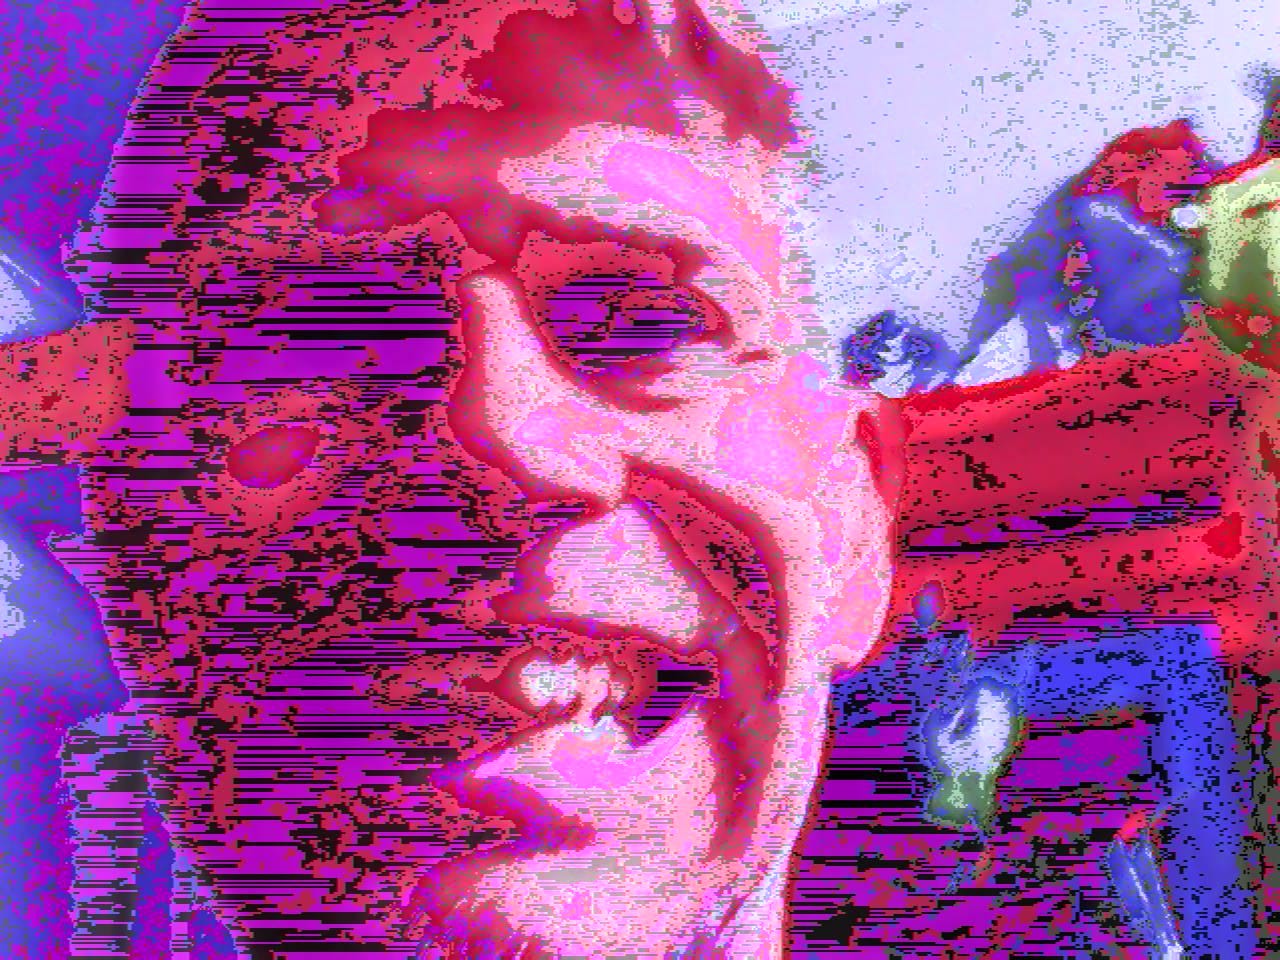
What Real Bent Cameras Produce
Unpredictable, vibrant hardware-born chaos: rainbow explosions, pixel melting, impressionist static, neon clouds, and lo-fi digital dreams — all straight from the sensor.


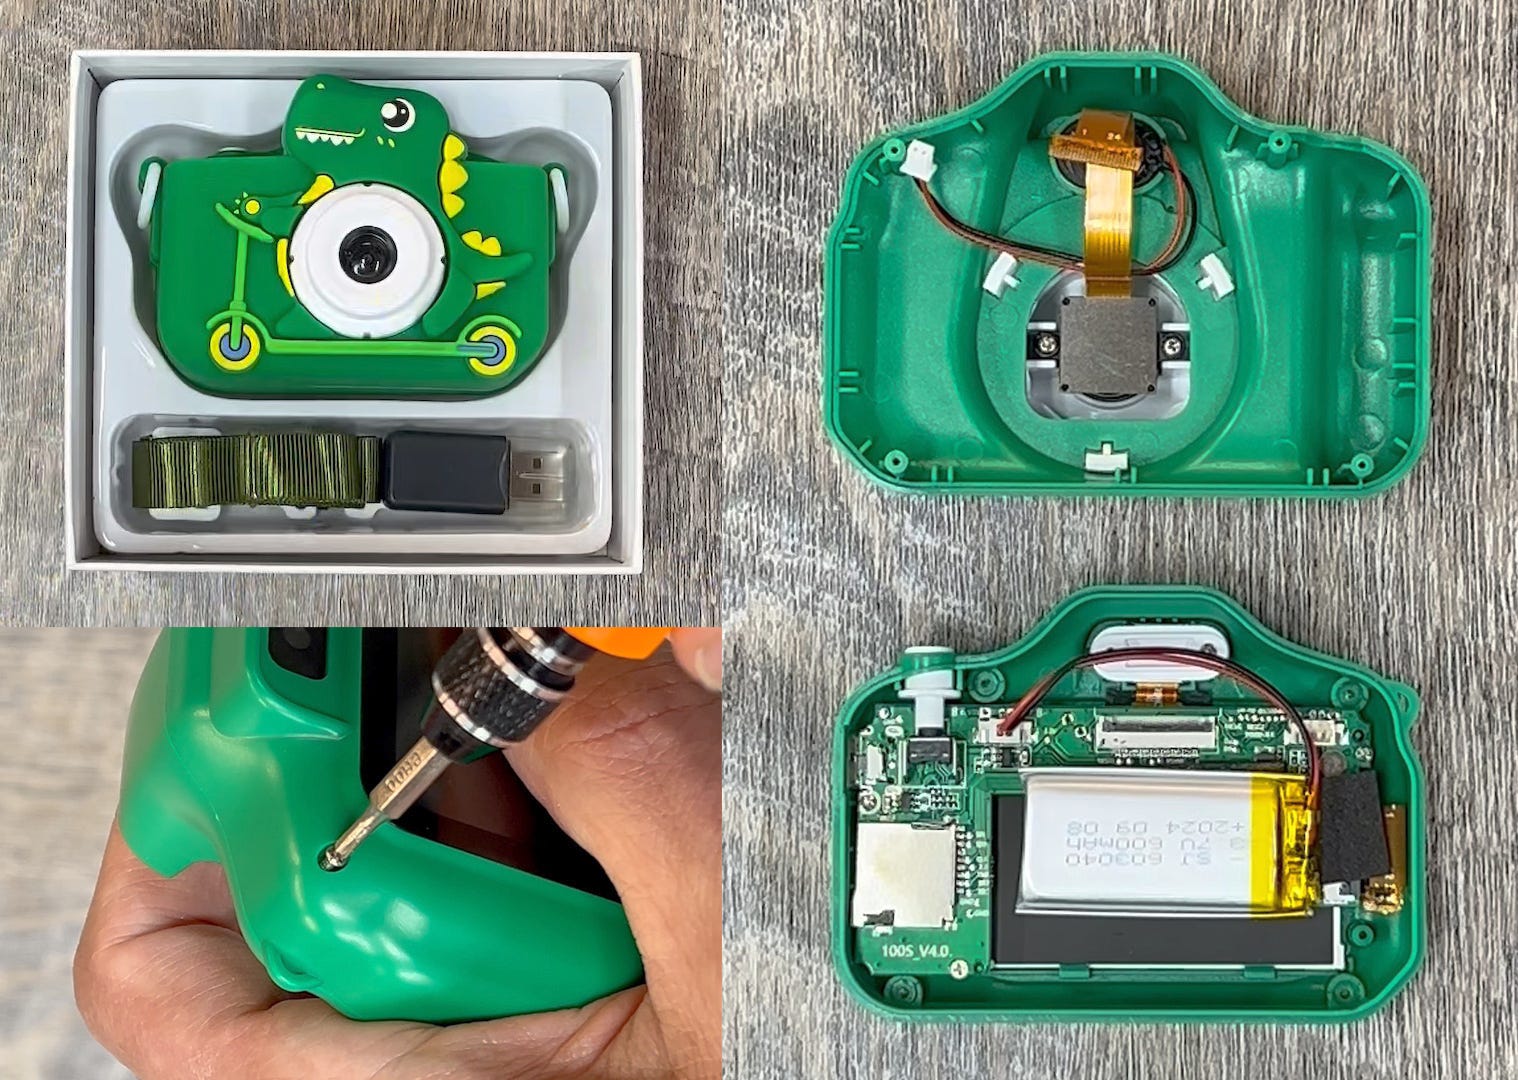
Hardware glitch art — turning cheap toy cameras into psychedelic dream machines (or glitch digitally with zero soldering)
No problem — try the easy route first. I made a simple web-based glitch tool where you upload any photo and instantly apply circuit-bent-style distortions — no disassembly, no risk, no capacitor shocks. While you explore the real hardware bending guide below, the tool is spinning up in the background. Once ready, hit the button at the bottom to start glitching your own images right now.
Unpredictable, vibrant hardware-born chaos: rainbow explosions, pixel melting, impressionist static, neon clouds, and lo-fi digital dreams — all straight from the sensor.
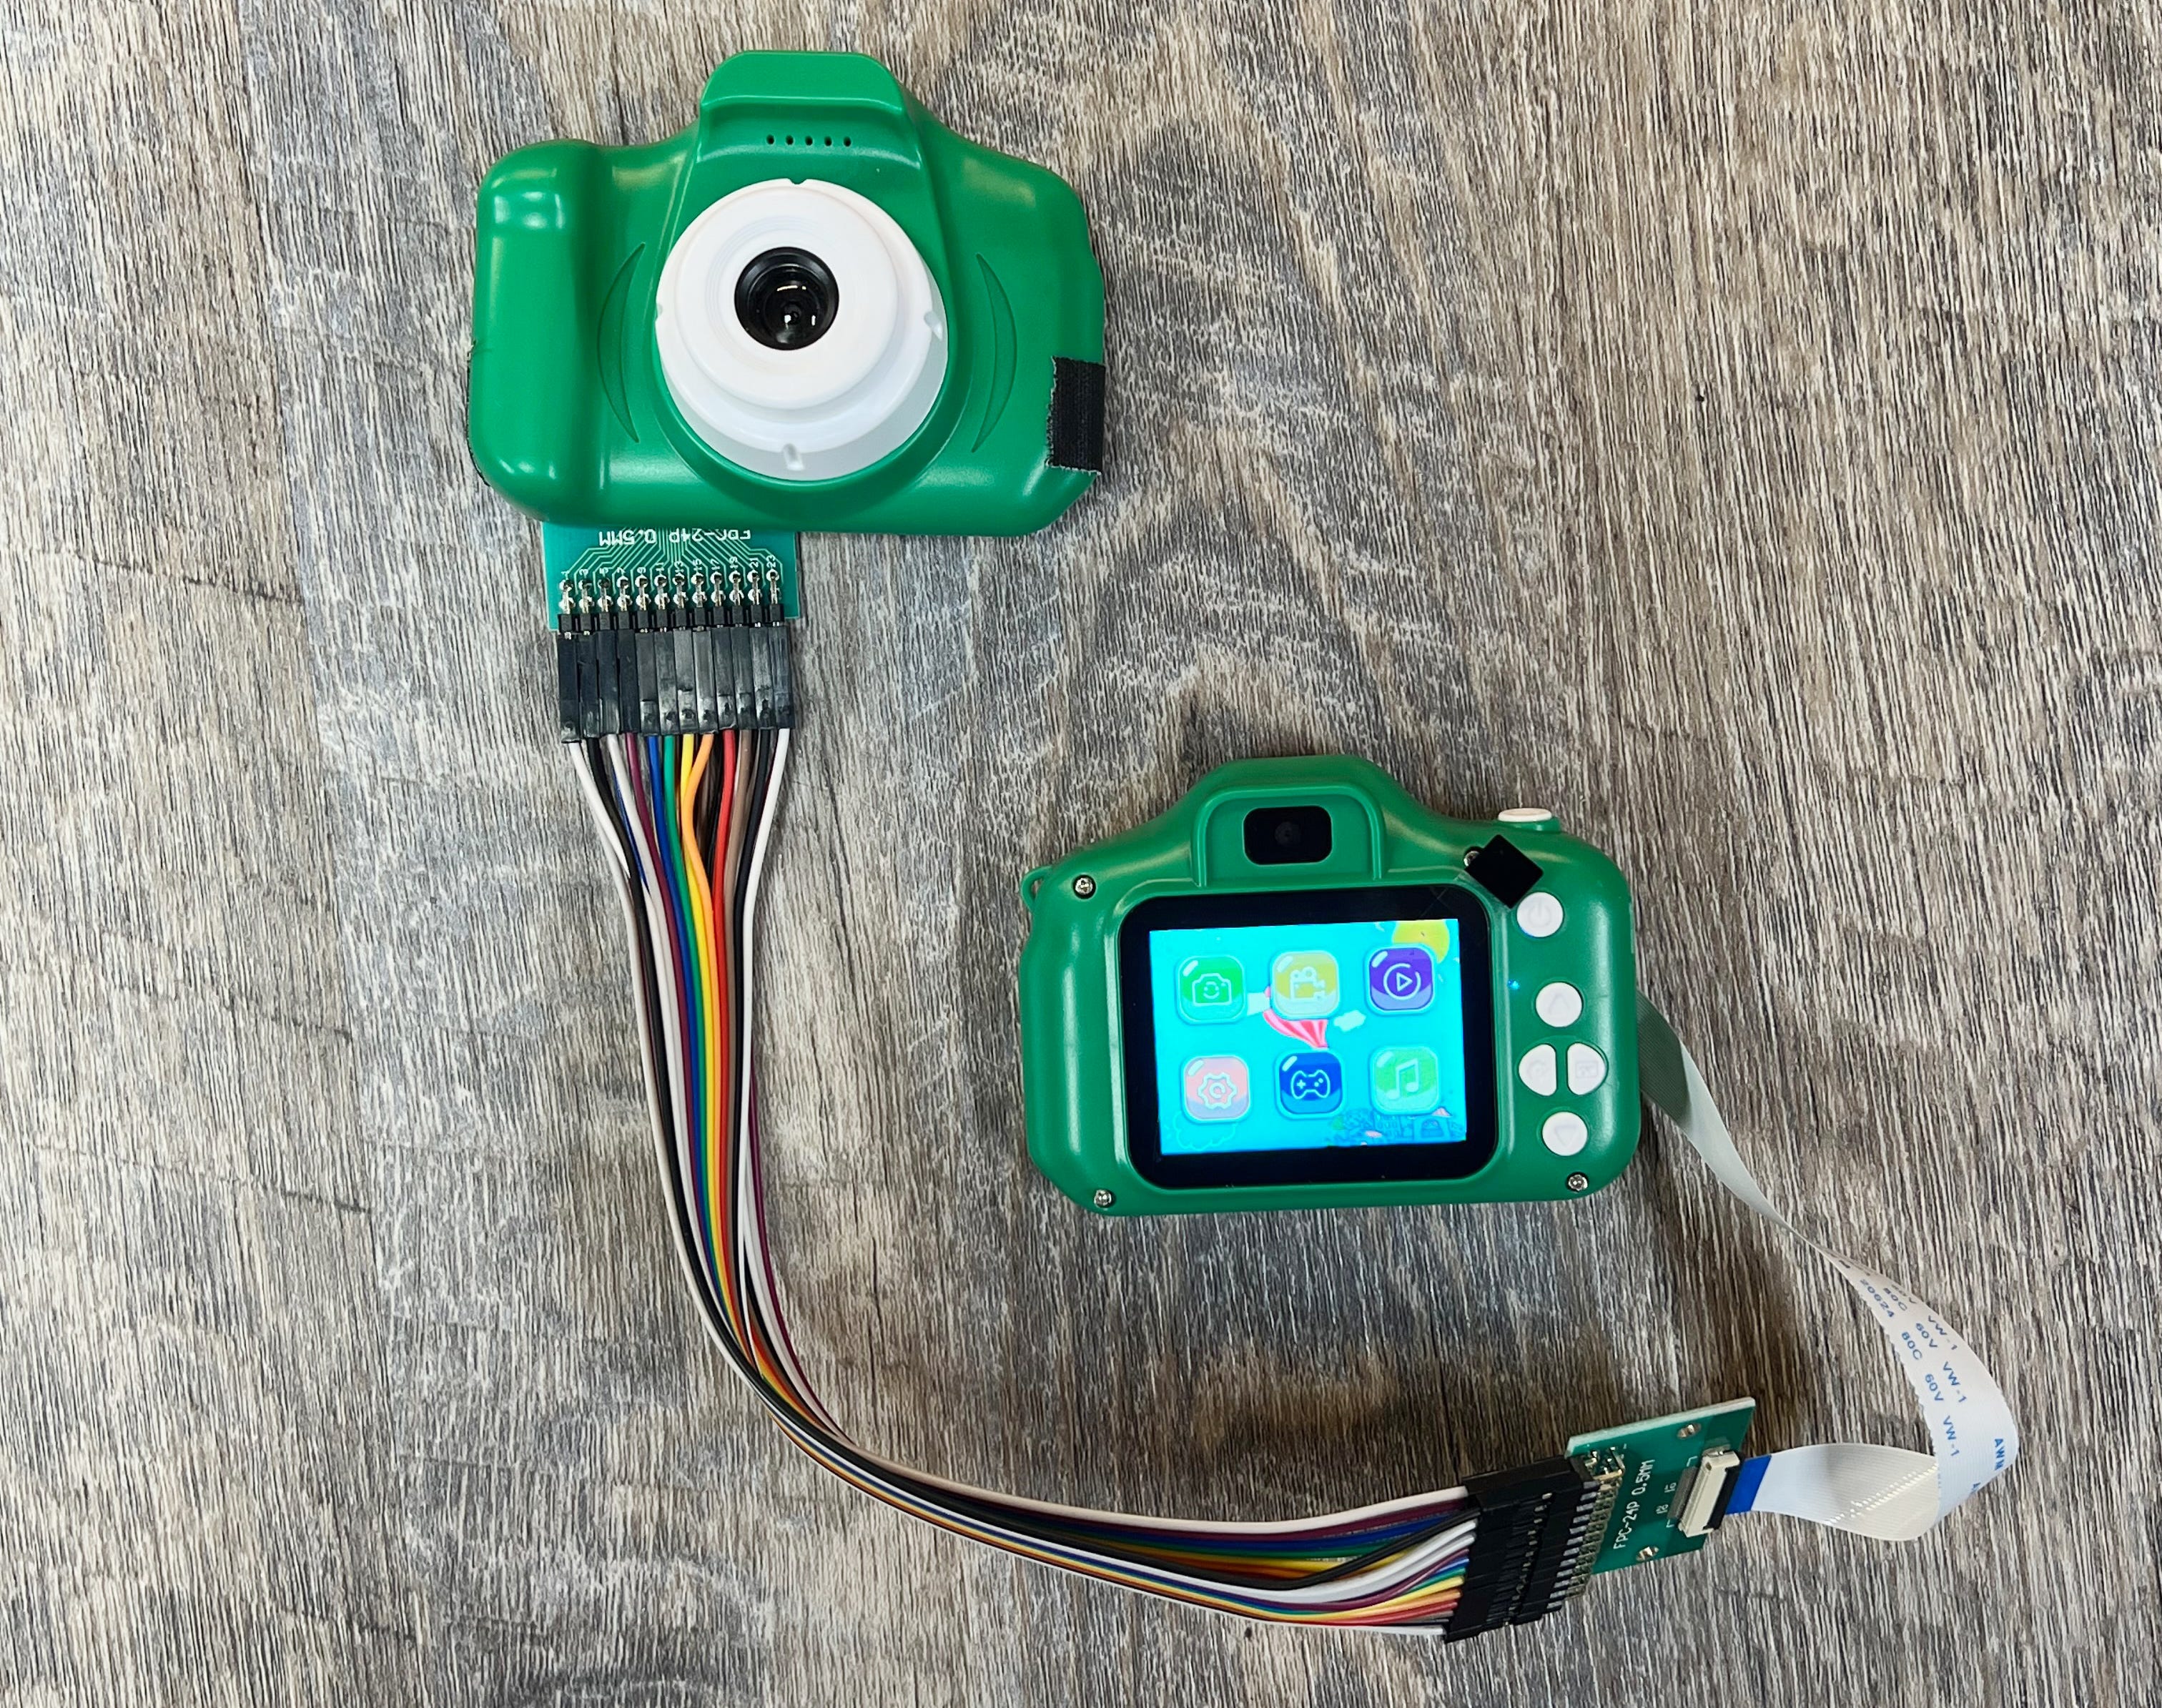
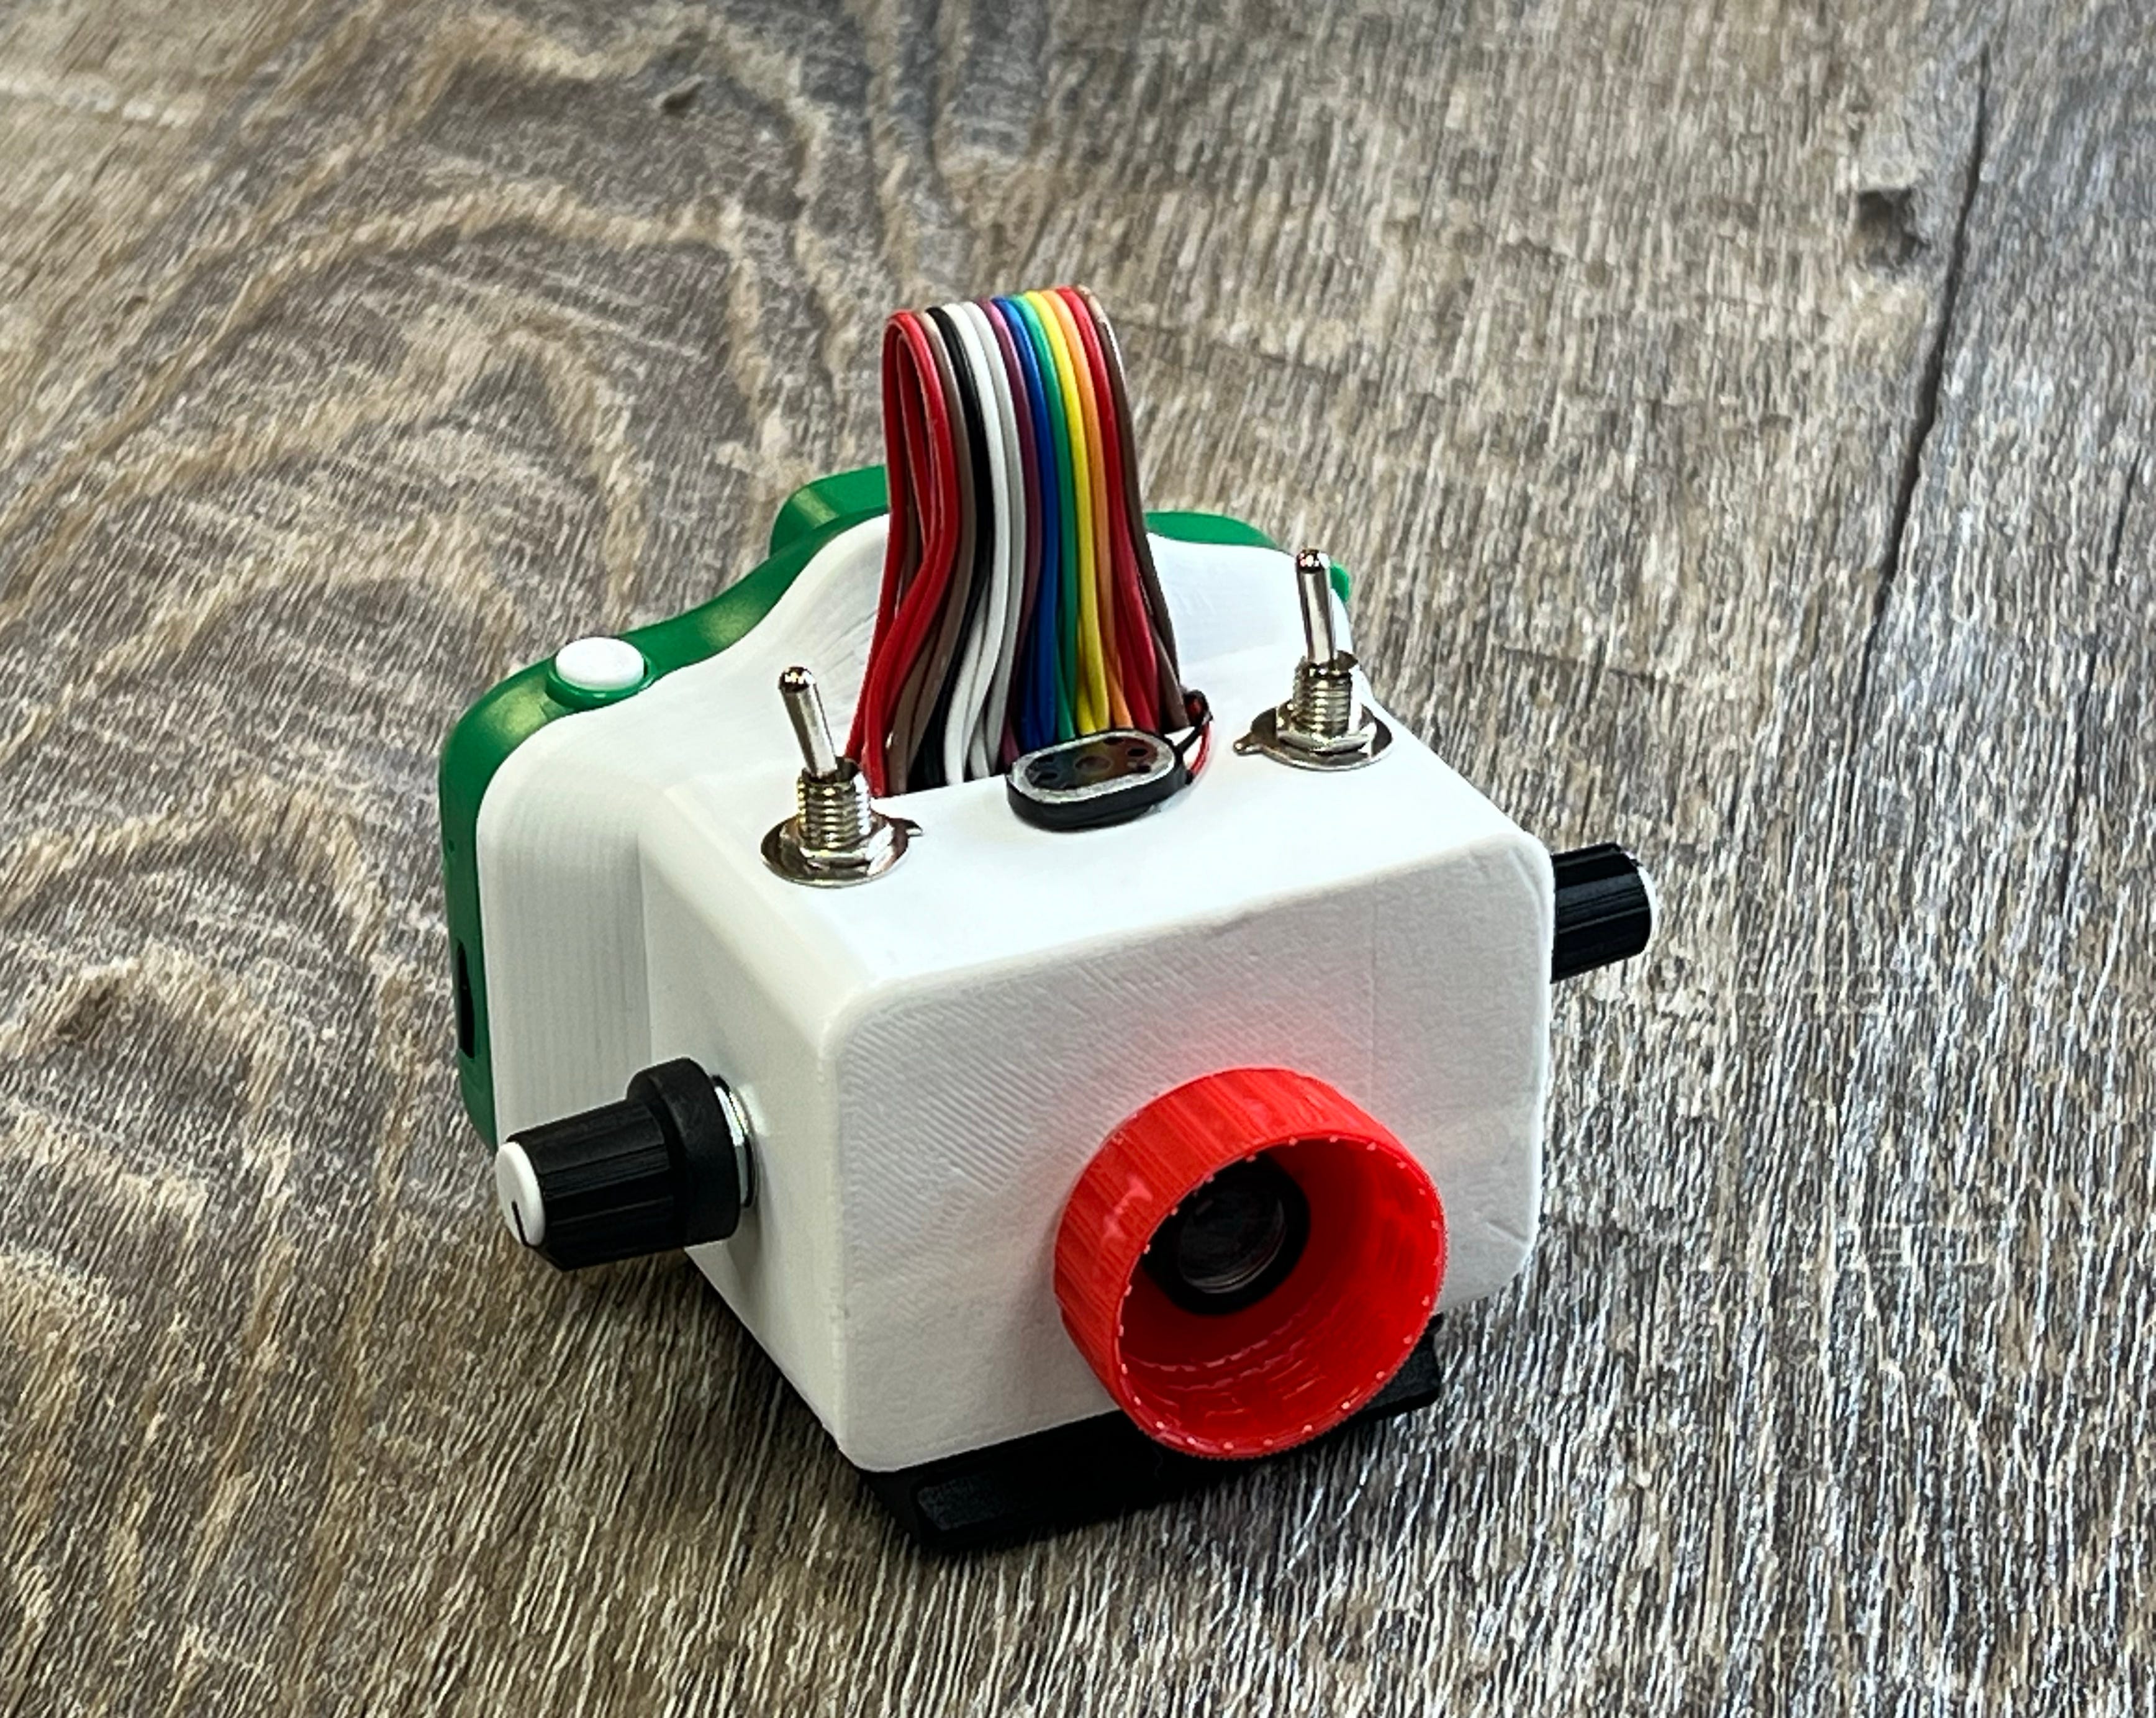
Most people start with ultra-cheap toy/keychain cameras ($5–20). Two main paths: quick no-solder experiments or proper soldering for real-time control with knobs and switches.